
Trending Now

If there’s one thing every homeowner knows for sure, it’s that flooring is often one of the most expensive items in your home to replace. Whether it’s your carpet, your hardwoods (fake or otherwise) or your tile, we all try to extend their life for as long as humanly possible.
When it comes to ceramic tile, there’s nothing more frustrating than someone dropping something heavy and breaking a single tile, right?
The rest of your floor is fine, but that one spot just sits there mocking you until you decide to replace the entire floor.

Image Credit: iStock
What if it didn’t have to be that way, though? What if you could fix just that one?
Stay tuned to find out how!
First, I know you want to smash your way through the problem, but put the hammer down (for now) – you’re likely to do more damage than you can replace, place you might go right through the wall or the subfloor behind the tile.
Also, you’ll need a replacement tile, so hopefully you ended up with an extra box or two in your basement, or you know where they were purchased from originally and can grab another box.
Once you have one, here’s what you’ll need: a grout saw, painter’s tape, a drill, a hammer and chisel, and some adhesive.
Then, you’re ready to get started!
#1. Remove the grout.
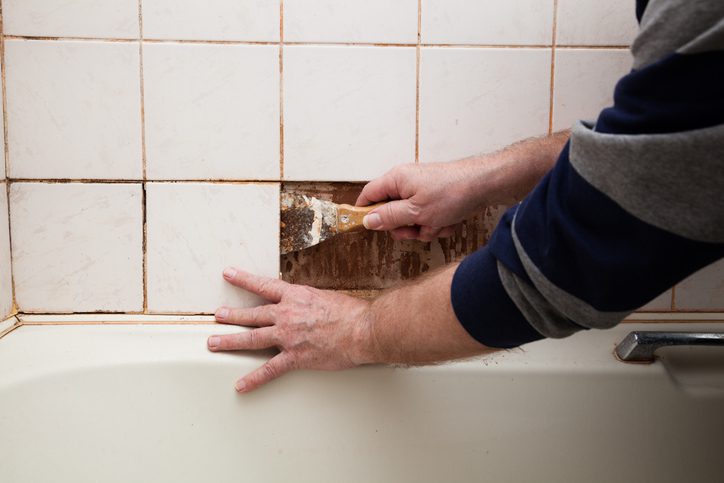
Image Credit: iStock
Use that grout saw to chip away the grout around the edges of the broken tile but take it slow, otherwise you might scratch the still-good tiles around it.
#2. Tape the tile.
Use your painter’s tape to cover the surrounding tiles, hopefully protecting them from damage.
#3. Drill the tile.
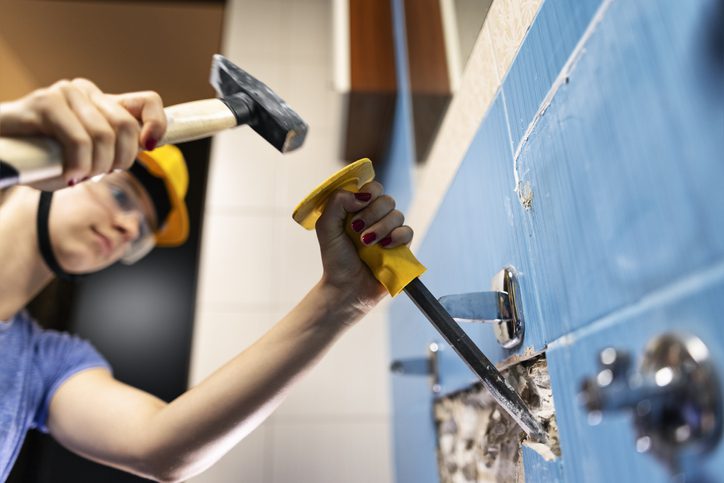
Image Credit: iStock
You’ll need a 1/4 inch drill bit made for the material of your tile (stone, ceramic, etc.) to drill some holes in the tile. Be careful not to drill into the material underneath, which will make it harder to pop the broken pieces out of place.
#4. Chisel.
Now you can pick up that hammer!
Use it with a cold chisel, a tile chisel, or any flat-edged tool to pry up the pieces of broken tile.
Take it slow, and once the tile itself is gone you can go back to chisel out the thinset or mastic left behind.
After that your subfloor or substrate should be nice and clean.
#5. Set the tile.

Image Credit: iStock
Clean out the hole, put more thinset or other adhesive down, butter the back of your replacement tile, and set it in place.
Then, all you have to do is redo the grout and voila – time and money saved.
You do want to make sure that you get the exact same time, and beware that, depending on how worn you floor is, the new tile may still be visible (to you) for a few months to come.
Don’t you feel so accomplished when you can handle something like this yourself, though?
I know I do!


