
Trending Now

Are you ready to learn some good life hacks?
Tying knots seems to be something of a lost art these days, but it is important to know how to tie some of the different kinds because they can come in handy in all kinds of situations: in the great outdoors and inside the home.
Pay attention and learn how to tie these 10 important knots. Good luck!
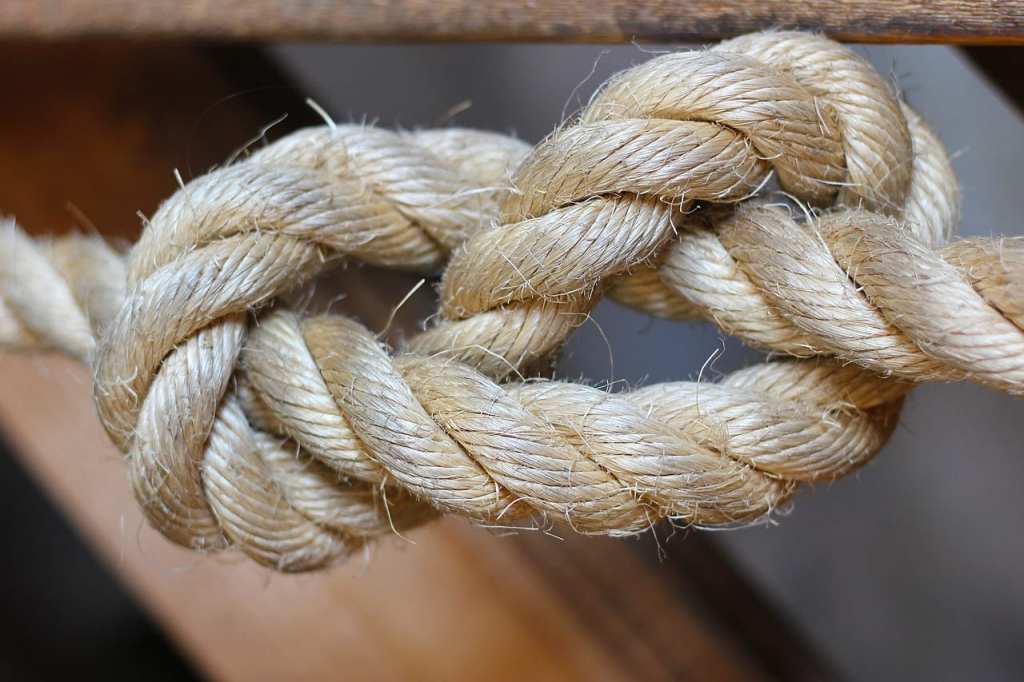
1. Square knot.
![beautiful [but deadly] square knot](https://live.staticflickr.com/5221/5623339500_f2731bf763.jpg)
This classic is used for tying knots and connecting lines.
Lap one rope right over left, then go underneath the other, and then tie the same again in the reverse direction: left over right and then underneath.
When the working end and the standing end of each rope are side-by-side, you’ll know you did this correctly.
2. Clove hitch.
https://www.instagram.com/p/B7-9j4EIEf8/
Clove hitches are used to tie a line to a post or a tree, but beware: the clove hitch will slip when only used by itself and without any other knots as a backup.
Make a loop of rope around a tree. Make another loop and put the free end under the second loop before tightening.
If attaching to a post or a stake, make a loop with the free end and slide it over the post. Make a second identical loop and put the second loop over the post above the first loop and tighten the clove hitch.
Boom!
3. The bowline.

The bowline is used to create a loop at the end of a knot that can’t shrink or get bigger and it definitely comes in handy.
Here’s how to do it: make a loop at the top of the long end of the line. Put the working end of the line up through the loop and then around behind the line.
Next, pass the working end down through the original loop, but remember to keep the shape of the second loop you created, which is your bowline loop. Once the line is back down, pull the “tree” up to tighten the bowline.
4. The figure eight.
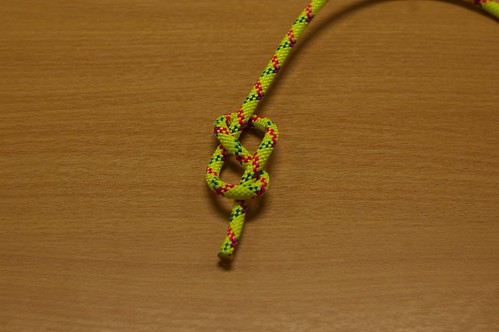
This knot is used as a stopper on a rope.
Pass the free end of a line over itself to make a loop. Keep going under and around the line and then finish by passing the working end down through the original loop. The figure eight is also called the Flemish Bend.
5. The sheet bend knot.
This is used to tie different materials or different thicknesses of rope together.
Here’s how it works. Make the thicker or more slippery rope into the shape of a “J”, like a fish hook. Pass the other rope through the J from behind and then wrap it around the entire J once.
Then tuck the smaller rope between itself and the other rope. Remember, use the “J”!
6. Two half hitches.

Photo Credit: Wikimedia Commons
You can use this when you want to tie a line to a tree or a pole.
Wrap the rope around the tree and through the inside of the loop created to make the first half hitch. Then wrap around the line again the same way again to make a second half hitch.
Pull it tight and you should have two half hitches right next to each other.
And there you have it!
7. Taut line hitch.
https://www.instagram.com/p/B7q_vZgFkQe/
The taut line hitch is used like a tensioner on a rope to tighten and loosen a loop.
Create a loop by wrapping around a solid object like a tree. Take the free end of the rope and wrap around the line twice on the inside of the loop.
After that, lay the free end of the rope over the two wraps and wrap it around the main line. Then draw the tag end through the loop you just created.
Cinch the wrap until it is tight. Pull on the standing line and the taut hitch should grip the line.
8. Fisherman’s knot.
https://www.instagram.com/p/B6vgWhVIL4a/
As the name suggests, this knot is usually only good for using with fishing line.
Pass the free end of the fishing line through or around whatever object you’re using, let’s say a fish hook. After that, wrap the free end of the line around the fish hook about six times.
Then wrap the free end of the line through the opening that looks triangular next to the object being secured. Then pass the free end of the line through the big loop that was created by going through the small triangle.
If you’re doing this with fishing line (which you probably are), spit on the line before you tighten it to lubricate the line so no heat damage occurs. Tighten the knot and trim off the extra line and you’re ready to go.
9. Water knot.
https://www.instagram.com/p/B9mwkc4Boj5/
The water knot is used all the time, mostly to secure straps, webbing, and flat belts.
Begin with a loose overhand knot at the end of one strap. Then pass the other strap in the other direction so that it exactly mirrors the route of the overhand knot of the first strap.
Then take the ends of the straps and pull the knot tight. It’s a simple and strong knot.
10. Rolling hitch.
https://www.instagram.com/p/B1JK8e5jEzp/
This is used to attach a rope to another rope and can be added to any existing line.
Wrap the free end of one rope around the main rope and create a half hitch. Then make a second half hitch and wrap over the entire knot. This will finish with a final half hitch to the other side from where you originally started.
Like I said, you never know when you’re going to need this kind of information, so you might as well learn how to do this stuff in your downtime!


